Be the best self-editor you can be!

Writing Help FREE Templates

This is a 3 part editing series that will cover the Big Picture Edits, Paragraph and Sentence Level Edits, and Proofreading.

Write without fear,

edit without mercy….

Unknown

Part 1: Big Picture Edits

Editing your story shouldn’t feel like an impossible task. All you need is to have a strategy in place, and you can be confident with your red pen and delete button when it comes time to edit your story. And – bonus, it will improve your writing! No matter what the scope of your project is; a picture book, a story book, chapter book or a novel, at some point you will have to edit your story yourself. Even if you plan on hiring a professional editor, they won’t do everything for you. They will return your manuscript completely marked up, with tons of changes to be made. And while it is great for you to have all your commas in the right place and make sure you don’t mix up too and to, you may be wasting your time editing spelling, grammar and punctuation if you end up omitting the entire paragraph. First you must edit your story structure and make your big picture changes.  

When I tell any writer or author that editing is my favorite part of writing process, I usually get one of two responses. The first is total confusion. “Why would anyone like editing!?” And the second is total shock or disbelief. “You’re crazy lady!” But let me officially confirm, the tedious, repetitive, overwhelming task of editing is the best part for me. The first draft is complete and the process of really developing your story begins. I am not naïve; I know the editing process is a common struggle for writers. Even as a seasoned editor, I have outsourced and hired an amazing editor for both of my books. I believe sometimes all you need is a second pair of eyes on your work to make it the best it can be. When we hired our editor for Champ and Nessie, I was looking for a developmental and proofread edit. For Sandy the Cat, our new picture book series, I needed a simpler copy edit/proofread. There are several different layers of editing, and knowing what you need and when you need it is half the struggle.

Typically, a manuscript will travel through the realm of a few levels of editing before it’s ready for the reader. If you’re a self-publishing author, you’ve likely either read or been told that you need to hire an editor. But a professional edit costs money, and while self-publishing experts will preach that it’s money well spent, not every author has the funds. With that being said, you don’t need to hire an editor for each kind of editing. Ultimately, what your book needs depends on your strengths as a writer. If you’re brilliant at outlining a book in a clear and logical way, or if you’re a master at crafting the perfect plot or story arc, you won’t necessarily need a big-picture edit. But if you struggle with explaining yourself clearly, or crafting realistic dialogue, your editor might recommend a paragraph-level edit. At the very least, every manuscript will benefit from a sentence-level proofread. If your editing budget is limited, you can be strategic about the services you select. Regardless of what your manuscript needs, working with an editor will help you grow as a writer — particularly if you approach the process with a willingness to embrace your writing weaknesses, and we all have them.

So…you’ve written your book. What now?

If you are anything like me, your first draft is a mess. The creative juice was flowing, your first couple of pages are pretty cohesive, but somewhere in the middle, you have a plot twist that doesn’t tie into the story, or a plot hole that needs to be reimagined. The climax isn’t long enough, or lasts too long. Your closing has no oomph. Maybe like me, you are writing a series and the final pages don’t carry your story into the next book.

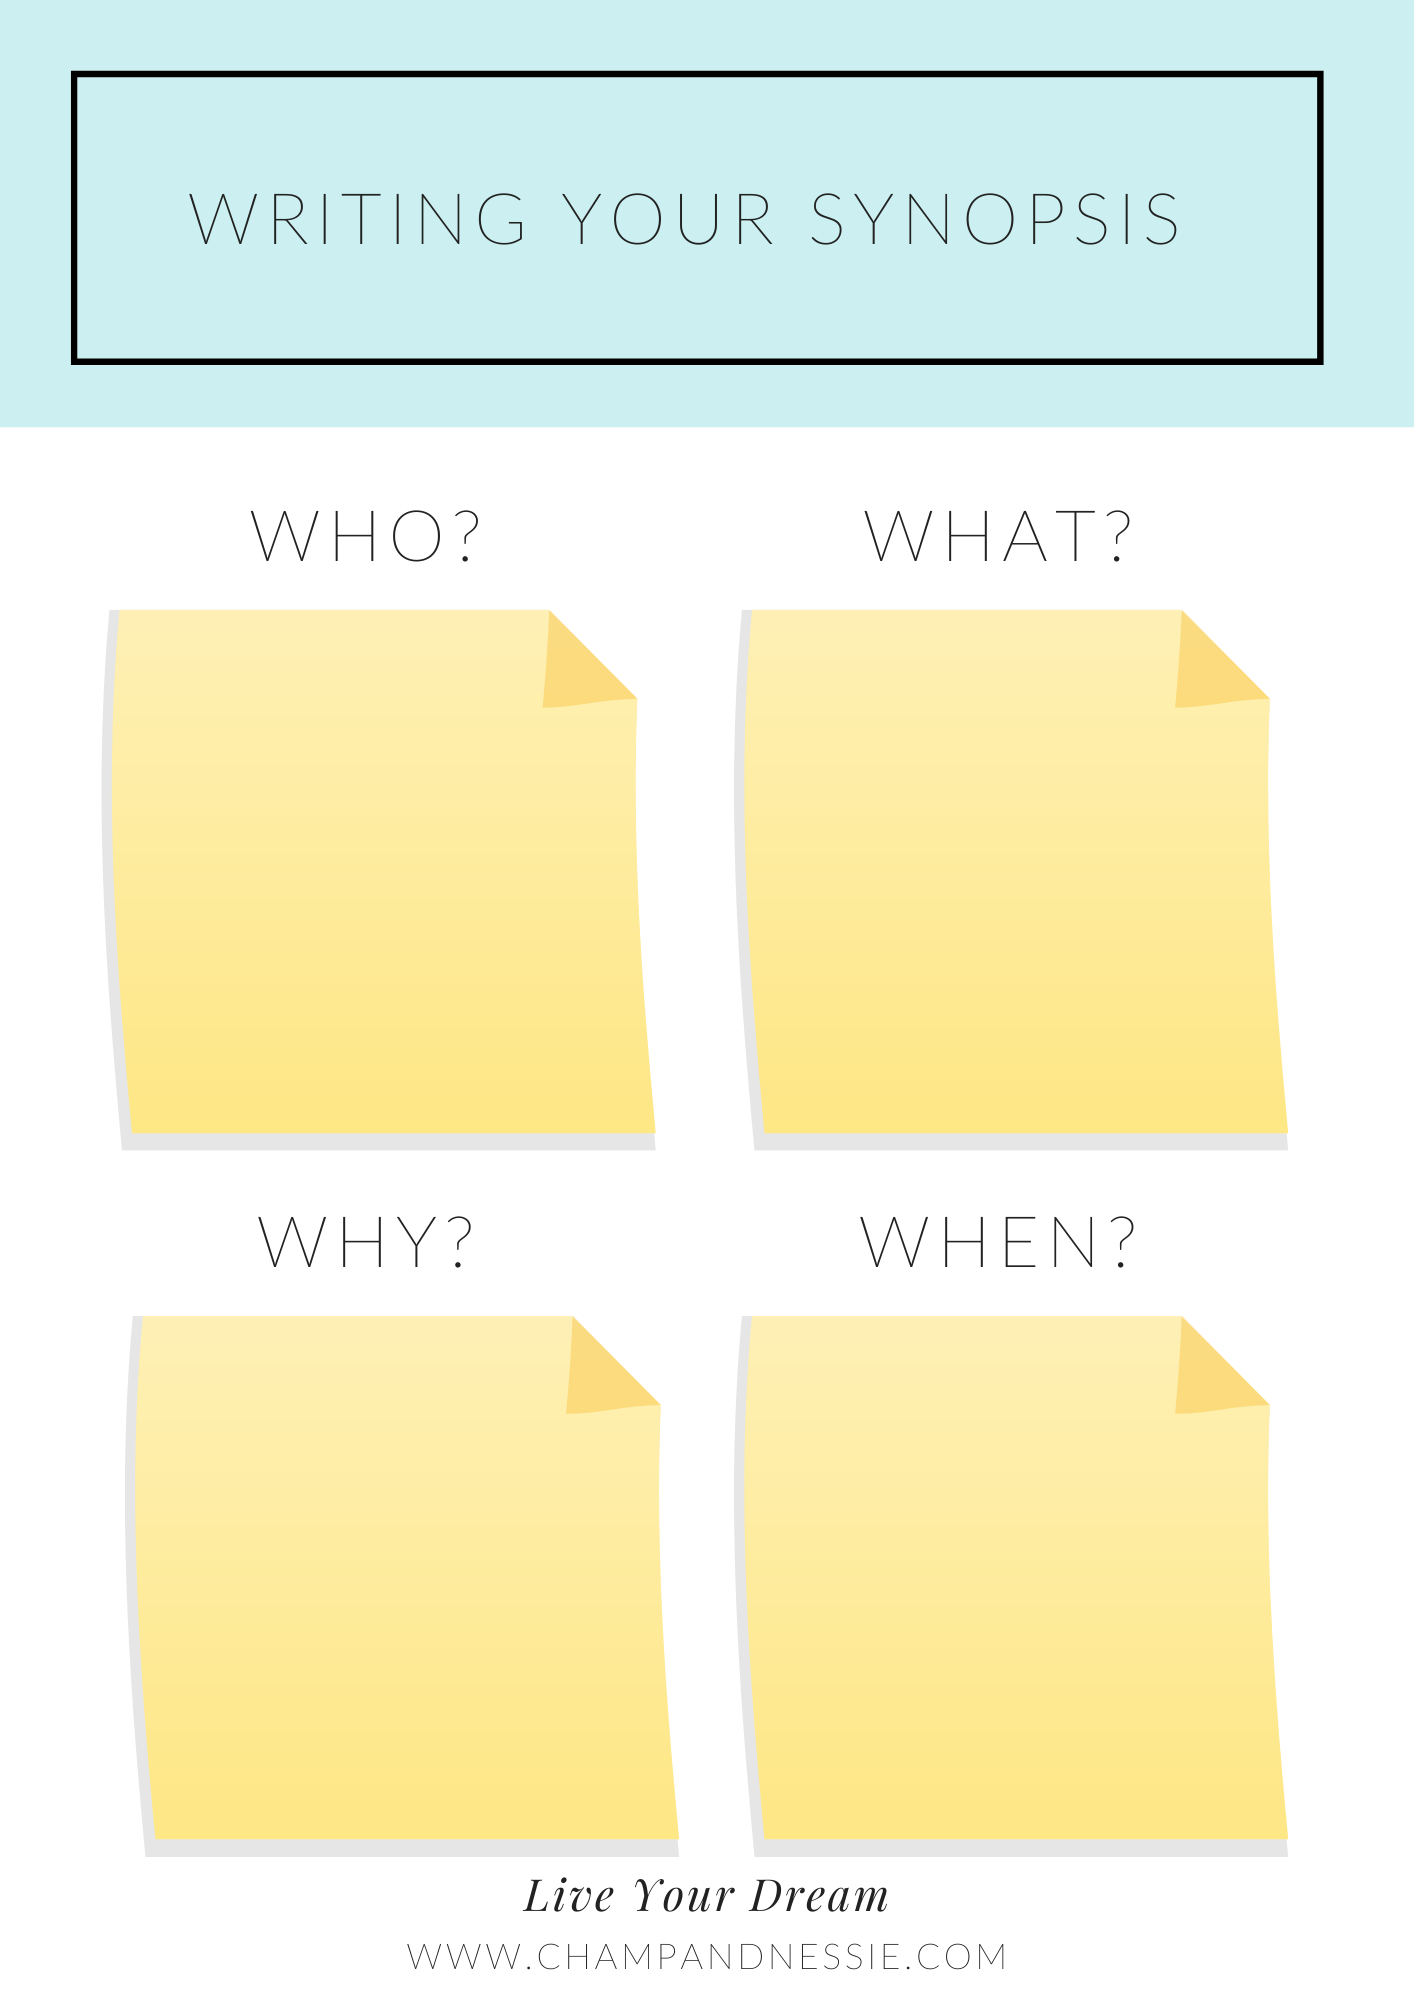
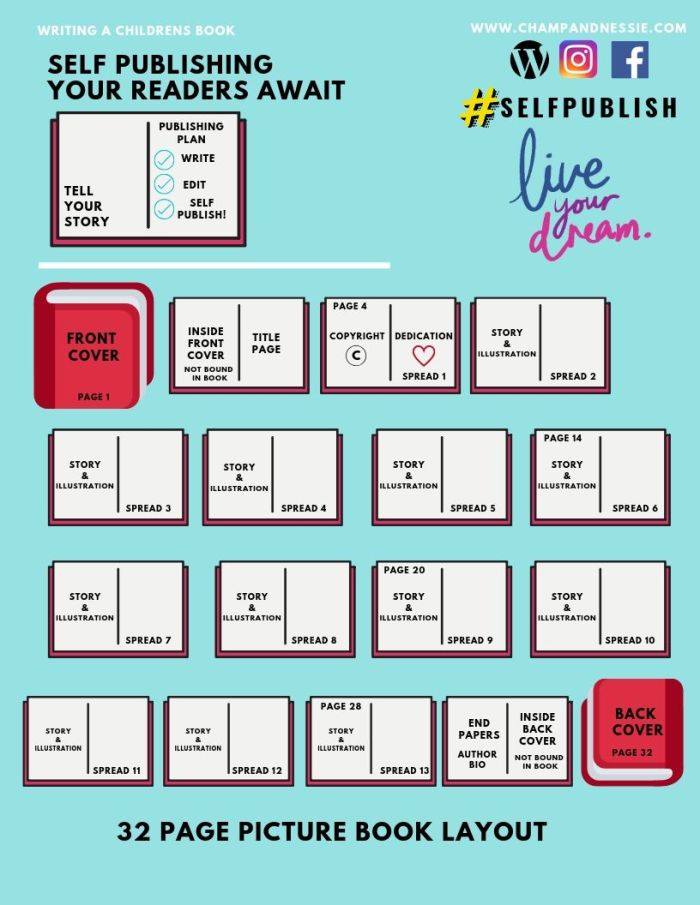
The “Big Picture Edit”, known as the Editorial Assessment, is extremely important. You will read the book and note any big-picture issues. I find the best way to do this is to track your changes and leave yourself a full reader’s report on the manuscript, detailing any areas that are not working and that will need a big revision before you can do a more detailed edit. When you are doing your initial read through, think big. Are you planning to create any major plot reworking or additions to your story? As part of your initial read through, include suggestions on how to fix any problems that may appear in the manuscript. Make detailed notes so you can go back, page by page, to evaluate revisions. This is the most important step. Make sure you have addressed any major issues that would require a rewrite before going line by line to look at the words. It can be challenging to do a full line edit on sections of story where a major revision is needed. Big picture editing can be very extensive if you need to address a book’s structure after it has been completely written. The easiest way to address big-picture items is to get help structuring your book before you write it. You can do this by plotting your story. I created a story board layout template to help plot your story.

Pro Tip: If you know your budget will allow hiring an editor, hire one first! If you like the structure/layout/storyboard of your book before you write it, send your editor a detailed outline, or a detailed page plot summary to see if he or she can spot any potential holes before you begin. Note: This is not my process, but I know many writers who seek editorial assessment before they do a first draft. If you’ve written your book, but you’d like feedback on your structure, you can still send it to an editor. But keep in mind that your editor will need to read an entire book instead of a brief plot summary, and this extra time will be reflected in the cost.

Editing Part 2 coming next week! In the meantime, you can check out some other writing help topics below!

What is a BETA reader? And how to get the most out of your experience.

books, Writing Help FREE Templates

Questions to ask your Beta/First Readers

When I sat down and finally pushed the publish now button on our labor of love, Champ and Nessie, I felt a mix emotions: I was overjoyed, relieved, excited. In the next breath I was filled with fear and anxiety, and then the dreaded “I hope someone will like my book!” popped into my head. Throughout the whole process I was so focused on researching all the things, writing, formatting, editing, illustrating, building my author platform and so on…I never thought “What if no one buys this? What if no one likes our story?” And the truth is, in those moments, I didn’t care. I was doing this for me. After laboring for weeks, months, and to be honest years on our book, I finally asked myself the question, “Now what? How do I know if this story is even any good?”

I discovered that many people rely on Beta Readers, or First Readers. People that give honest feedback, critique, and/or clarification on your latest “book baby”. After much research on the subject, I learned that before you eagerly drop your literary work of art on an unsuspecting Beta, there are a couple ground rules that can really help enhance your experience, and get the most our of your BETA Readers.

#1: Beta readers should not be writers (if possible).

This one is simple. A writer will critique your work with a writer’s eye, not a reader’s eye.

#2: Only choose 1–3 Beta/First Readers.

Ever heard the saying: too many cooks in the kitchen? Yeah, that’s a thing. If you get too many people critiquing your work it will work against you. Too many opinions, and too time consuming. Too confusing. Find 1–3 readers you trust. People who can give honest feedback.

I didn’t have to look too far for my BETA Readers, I asked a few colleagues I trust and my very dear friend to have a look at C&N several times throughout the revision process. Don’t send them into the story blind, send a list of specific feedback you are looking for. Give your BETA a clear outline of what your book is about. Send the synopsis, the category you are classifying your book under, the age group and genre of your book. All this will help them, help you better.

Ask them specific things like:

#1 Did the story hold your interest from the very beginning? If not, why not?

#2 Did you get oriented fairly quickly at the beginning? Where and when it’s taking place? If not, why not?

#3 Could you relate to the main character?

#4 Did the setting interest you and did the descriptions seem vivid and real to you?

#5 Was there a point at which you felt the story lagged or you became less than excited about finding out what was going to happen next? Where, exactly?

#6 Were there any parts that confused you?

#7 Did you notice any discrepancies or inconsistencies in time sequences, places, character details, or other details?

#8 Are there any characters you think could be made more interesting or more likable?

#9 Was the ending satisfying?

#10 Do you think the writing style suits the genre and age group?

Remember, your BETA reader is not an editor. They will be critiquing you only on the big picture, the storyline, and the characters.

#3: Print out a PDF of these questions for your BETA below!

Final thoughts….Let’s face it, at the end of the day, we write for ourselves. Not everyone is going to think your book is amazing. But facing that fear is a reality of writing and putting yourself out there. “To write something you have to risk making a fool of yourself,” as Anne Rice said. Having BETA readers truly helped my creative process. Understanding the mind of a child is one thing, but writing a book that parents can stand behind and encourage their child to read is an entirely different animal. It helps to have a few different perspectives, focused on the questions asked above.

When I read the edited final draft of the story back to myself, it felt so happy and proud of how far I had come. I honestly thought it was a home-run. Who wouldn’t want to go on a grand adventure across the Ocean? I mean, have you seen how adorable my Champ and Nessie are? Looking back, I want to yell at myself for taking so long to bring this story to life. I let my own insecurity stop me more times than I can count, instead of asking questions and getting feedback. I realized that putting my anxieties and self-doubt aside was the only way to move forward. I needed to put myself out there in front of the world, and only then could I truly consider myself a writer. And to be honest, it wasn’t until someone introduced me as a new author that it sank in. I thought, “Wow, I’m really an author.” I wish I could describe to you how great that felt, but there are no words. I can only hope that one day you will feel it firsthand for yourself. Happy writing.

Looking for more writing inspiration…check out our post on Storybook vs. Picture Book.

Story Book vs. Picture Book

books, Writing Help FREE Templates

When I was researching Categories for our second book series, Sandy the Cat, I noticed there are only a few degrees of separation for each category of Children’s Books. Depending on where you look and who you ask, you will soon discover that all of these categories overlap, and it is important to focus on word count, not necessarily context when you are selecting your category.

Storybook, Picture Book, Early Picture Books? What category should my book be classified under?

STORY PICTURE BOOKS

This group is for 4-8 year old’s, kindergarten to grade 3 or higher.  While doing months of research, I found that text layouts that consist of six pages and up (at 200 words per page) are for older children and adults. Total word count can be 1200-2000 words. Most books I have seen in this category run five to nine pages (at 250 words per), or 1250-2250 words. So if your story is 1000-1200 words, I guess it could maybe fit in either category? (See what I mean about a few degrees of separation.) And actually since the word count has gone down for early picture book’s, it probably has for this group, too. Closer to 700-1500.

Story picture books or picture storybooks, do typically have more words, so the text to picture ratio is heavier on the text. In these longer story picture books, the illustrations are meant to help hold the listener’s attention and aren’t really an integral part of the story, at least not in the same way. These books often have text that might even take up the entire page, as they have more of a storyline and plot development. Typically, text and art are separated on the page, and the text could stand alone. Champ and Nessie is a Story Picture Book.

What we refer to as a Picture Book covers everything from pop-ups to e-books, graphic novels to non-fiction, baby books to sophisticated. A true picture book combines pictures and words to tell the story. One cannot function without the other. To understand the story fully the reader has to read both the illustrations together with the text, words alone would not be sufficient without the images. This is why it is important to have a great illustrator, Artwork is 50% if not more, of the story. In true picture books the text is pared down to just the narrative, illustrations fill in the description, and may include wordless sub-plots.

EARLY PICTURE BOOKS

This category is often simply called a picture book. When publishers talk of picture books, they are probably talking about this group. Especially when the word count is considered to be no more than 500. I don’t now any child under 2 that can make it past 500 words, if they even make it that long. But 2-5 year old’s can sit still for longer periods of time. A picture book for this age child should be about 2-5 manuscript pages, or 400-1000 words. General rule of thumb, a typical manuscript page is 250 words and the number of manuscript pages for this age picture book is two to four, or 500-1000 words.

Below you can check out my Children’s Book Length Cheat Sheet along with our other FREE pintable’s and start writing your story. For more writing inspiration and FREE worksheets to help you plan your Children’s Book, click here.

Storybook, Picture Book, Early Picture Books? What category should my book be classified under?

Just Write!

books, Writing Help FREE Templates

Your First Draft

To write the first draft of a picture book text, just write a story. That’s is. Seems easy enough right? Keep in mind that you want it to be short and you’ll leave visual details to the illustrator, but, otherwise, write the story.

There are a few things you don’t have to worry about when you are writing a first draft.

  1. Vocabulary: Picture book vocabulary doesn’t have to be limited, because usually an adult is reading the story to a child. Don’t limit yourself on this first draft, you can always “dumb” it down later.
  2. Style: Just relax and just write. The first thing I like to do when drafting a story is print out my FREE Storyboard Template. It helps get my ideas lined up.
  3. Length: Remember you’re writing a picture book, and there will be illustration to depict your scenery. Get all your ideas on paper, it doesn’t matter much on this first draft, unless you go over 10 typed double-spaced pages. And even if you do, you will have content for your next book! Who knows, you could have a book series on your hands.

When I was drafting Champ and Nessie and Sandy the Cat, after getting my goal worksheet filled out, and typing up a story, I printed out several storyboard templates. I just started writing, filling the pages, and when I had the entire 32 page outline finished, the real work began. Everyone’s process is going to be different, but the steps you need to follow are the same. Utilizing a storyboard is the easiest way to organize your ideas, so you can discuss them with others on your team, and more importantly, you illustrator. Or if you are illustrating yourself, it will serve as a road map or you. A storyboard can be incredibly detailed, or not. The main premise of it is to identify key scenes and establish the timeline of how those scenes will play out in your story. The point of the storyboard is to provide visual clarity and keep everyone on the same page. It’s not supposed to be a work of art in and of itself. Next to or below each cell, fill in your description of what’s happening in the scene and you can even include dialogue that will take place.

When I say “Just Write” I mean it. JUST WRITE. You will be amazed where your imagination will lead you.

For more writing inspiration click here.

Copyright

books, Writing Help FREE Templates

One of the most common questions I get from new self-publishers is, “What do I put on the copyright page?” For some reason, the copyright page seems intimidating with its legalistic language and weird numbers. But it doesn’t have to be that way. There are many different ways to layout your copyright page. After looking at 100’s of books in my genre, I noticed that every copyright page was slightly different. Some were very simple, and some were more complex. I opted for a very simple copyright page for Champ and Nessie, and Sandy the Cat. There are a few things that must appear on your copyright page, but it’s up to you how much more information you want to add in after that.

What is a Copyright page?

The Copyright page carries the copyright notice, edition information, publication information, printing history, cataloging data, legal notices, and the books ISBN or identification number. In addition, rows of numbers are sometimes printed at the bottom of the page to indicate the year and number of the printing. Credits for design, production, editing and illustration are also commonly listed on the copyright page.

Do I need to purchase a Copyright?

Your book is protected by copyright laws from the minute you write it, but for added protection against theft, you can file for an official copyright through the U.S. Copyright Office. It is not necessary for the book to be published for you to apply for a copyright.

What Has to be on Your Copyright Page No Matter What?

The single most important element on the copyright page is, no surprise, the copyright notice itself. It usually consists of three elements:

  1. the © symbol, or the word “Copyright” or abbreviation “Copr.”
  2. the year of first publication of the work; and
  3. an identification of the owner of the copyright—by name, abbreviation, or some other way that it’s generally known.

Together, it should look like this: Copyright © YEAR, Author Name

Because the © symbol isn’t available on typewriters or most common computer terminals, the copyright symbol is often approximated with the characters (c). Unfortunately, this form of notice may not stand up in court. There are several places online you can download a template. Or you can copy and paste this symbol, as the quickest way: ©.

What Else You’ll Find on the Copyright Page

Many of these items may not be applicable to your book, but this is where the publisher has to fit all the legal notices and other information for use by the book trade. Keep in mind that a reservation of rights is vital, and the publisher’s contact information is practical and appropriate. So here’s the rundown of other elements on the copyright page:

  1. Reservation of rights, where you outline what rights you reserve and which you allow.
  2. Publisher’s editorial address. Larger publishers will likely include…Ordering information, Trademark notices, Catalog and Publication Data.
  3. Edition of the book. For instance, a second edition might or might not be noted on the title page, but will definitely be indicated on the copyright page.
  4. Printings and years indicators. These are the odd strings of “funny numbers” often seen near the bottom of the copyright page. This is for the use of the publisher’s production department, and is likely to become obsolete (or so I read).
  5. Lastly, some publishers use the copyright page to credit the contributors to the book including designers, production managers, proofreaders, indexers, and editors. I personally dedicate an entire page for my “Dedication’s and Credits”. Click here to download a copy of my 32 PAGE PICTURE BOOK TEMPLATE.

When it comes to creating your own copyright page, pick the elements that seem most suitable to your book. Keep the whole thing as simple as possible and you can’t go wrong. Especially for a Children’s Book’s, I would suggest doing a simple copyright, see below. Click here to download.

Nowadays, anyone can write a book and easily self-publish it. Not everyone aspires to be a Best Selling Author, but if you want your book to be a success, there are a few steps you need to follow in order to present the most professional book possible to your readers! Check out my resource library for more Self-Publishing Help and FREE Templates.

Anatomy of a Children’s Book Synopsis

books, Writing Help FREE Templates

Your manuscript is ready, your cover is on point, your illustrations (if you have any) are amazing. Now, its time to write your book synopsis, or back cover blurb. You ask yourself, “Where do I begin?” Well friends, read on…

A synopsis is a one-page, single-spaced, summary of your book. Typically written in third person, present tense. The synopsis should give the reader a clear idea of what happens in the story. It should also be interesting to read and focus on the main characters and the driving plot. A great synopsis is compelling and will leave the reader wanting more.

Depending on your niche/genre, the type of information your synopsis will have can vary. If you are writing a children’s book blurb, you will want it to be playful or funny. Reflect the silly, adventurous, curious or loving nature of your characters. If you are writing a chapter book or novel, you will need to set up your synopsis to reflect the context throughout the story, without giving any too many spoilers. A good rule of thumb is to have a three part synopsis. Three paragraphs, pertaining to the beginning (1), middle (2) and end (3). When you read your synopsis, it should introduce us to your characters, the setting of your story/or premise of the book, and the event or circumstances that leads us into the climax. You don’t want to give away the solution, but merely get the reader excited to want more. And ultimately, buy your book to find out what happens.

When you start to write your synopsis, ask yourself these questions – Who? What? Why? When? They cut to the chase and will pull the reader into your story. Don’t get bogged down with detailed specifics, keep it moving and find ways to connect the plot points without slowing your reader down.

Try my FREE scrap sheet to help you brainstorm. Print out a bunch and just start writing down ideas. Take your favorite Who, What, Why and When and you will have the perfect points to draft your synopsis. When I was writing Champ and Nessie and Sandy the Cat I spent hours in Barnes and Noble reading the back cover of every single book in my genre. I read 100’s of blog posts, listened to pod casts. Connect with likeminded people on social media. You will be surprised where you find inspiration. I carried a notebook around with me and wrote down cute sayings, made notes about design layouts I liked, even the font and the layout of the text. Get inspired!

The number 1 tip I can give you is to try writing the synopsis before you write your book. This may go against traditional advise, but I find that it is easier to narrow down the specific points and talk about the main character. You can (and should) always go back and tweak it after you have finished writing the book.

Remember, a bad synopsis can sink your book, even if its amazing. Do your research. Read 100’s of book synopsis’s in your genre. You will be able to tell what a good synopsis is vs. a bad one very quickly.

I hope this helps you write an amazing book synopsis!

If you are looking for more tips on Writing a Children’s Book, check this out. Live your dream!

Improving Choppy Sentences

#ThankfulNovemberChallenge, Writing Help FREE Templates

Although short sentences can pack a powerful punch in your writing, too many in a row become distracting to the reader. Choppy sentences may make your ideas seem disconnected, and your writing seem unsophisticated. If you find that you have a lot of short, choppy sentences in your writing, read on for a few suggestions to improve them.

When you have too many sentences in a row that begin with a simple subject, or repeat the same subjects in the beginning of a sentence, for example, She is, She was, She can…etc. Think about you how can rework that sentence. You can combine multiple sentences with a well placed comma to create one long sentence. Think about how you can show logical connections between your ideas by using words that show cause and effect. Look for words that show contrast, like such as, and then, just then…etc. Try and join your sentences by using phrases beginning with if, when, after, as, etc. You can manipulate the sentence and move phrases around to find the best way to convey your ideas to the reader.

Try and string together your minor details, you don’t need a new sentence for each piece of information. Think about how you can start your sentences in different ways. Think back to grade school, try a prepositional phrase or a dependent clause! Sometimes, you have to get back to basics.

When writing, it’s important to remember that variety is one of the keys to keeping your reader’s attention. Make sure you have a mix of long and short sentences, so you don’t end up with lots of choppy sentences that could distract your reader.

Happy Writing!

P.S. CLICK HERE For more Writing Help, and FREE Children’s Book Writing Templates

Anatomy of a 32 Page Picture Book

books, Writing Help FREE Templates

I was 5 months into editing Champ and Nessie when I learned that picture books are almost always 32 pages. I never realized that. Rookie move! Our book initially was written as a chapter book, it wasn’t meant to be a picture book, or story book. After some very hard developmental edits, (and a reveal of the most amazing cover design!) we decided to take C&N in a different direction. After seeing C&N in full color, we knew it had to be a story book! As a result, I ended up learning a lot of things the hard way. But with that being said, we couldn’t be happier with the finished product!

IN LIFE, YOU ALWAYS HAVE OPTIONS…

The reason most picture books are always 32 pages is physical: when you fold paper, eight pages folds smoothly into what’s called a signature, while any more results in a group of pages too thick to bind nicely. In addition, the 32 pages can all be printed on a single sheet of paper, making it cost-effective. In rare cases, picture books may be 16, 24, 40 or 48 pages, all multiples of eight (a signature). You may see board books at 16 or 24 pages, and picture books at 32, 40 or 48 pages. But the standard for picture books is 32 pages.

When thinking about the page layout for a picture book story, there are two options. You can look at each page separately, or you can talk about double-page spreads; when a picture book is opened flat, the two facing pages are often illustrated as one. Therefore, in a 32 page book, you would have a single page (the right hand side of the book), fifteen double-page spreads, and a single page (the left hand side of the book). It can be very confusing if you are new to the picture book author scene, so I created a fun and colorful 32 page picture book layout using Canva. This helped me so much. I formatted C&N using Pages and Adobe Pro, it was so easy having the layout printed and hanging right in front of me to reference.

Within the 32 pages, the first pages contain front matter of the book, consisting of a title page, a copyright page and dedication. Depending on the length of your story, you can combine the copyright and dedication on one page. I have even seen books combine the biography, copyright and dedication together if they need more room for the story and illustration. The end pages of the book will be for your biography, or for example, if your story has a map or you want to have information about your website or promote other books you have published. In single pages, this may take 4-5 pages. (C&N is a single page layout). In double-page spreads, it’s the first single page and one or two spreads. The text, then has 27-28 pages or 14 spreads, plus a last single page. Do what is best for your story, there is no right or wrong way.

Check out my Writing Help page for more Children’s Book Writing inspiration!

Day 5…Irritating

#ThankfulNovemberChallenge, books, Writing Help FREE Templates

“It was irritating to read all those adverbs.”

The first time I ever read Champ and Nessie was on 6/19/2014. (Wow!) The first draft of Champ and Nessie was 24 pages of unformatted text, 5486 words. Check out my post on The Journey Begins, for the backstory on what took me so long. My first for real editorial read was 4/11/2019. On that day, I cut 10 pages of redundant text and over used adverbs and transformed C&N to a 14 page manuscript. How, you ask? I omitted every single adverb, and most of the imagery that Author Zebulan Frayne had used.

Adverbs will KILL your story, get rid of them. This is a famous tip backed by Mark Twain and Ernest Hemmingway, so its safe to say, this is a no brainer when it comes to editing your book. One of the things that will make any writer stand out as an amature is too many adverbs. As a writer the last thing we want to do is appear amateurish. Especially, if you are a independent writer, the pressure is worse than ever.

With a background in editing, it comes natural for me to spot a “filler word”. But in case you don’t know exactly what to look for, check out our Writing Resource, Filler Words reference sheet to help you omit some of those unnecessary adverbs.

Print out your manuscript, or storyboard and go grab a red pen. Red line all the adverbs and re-read your story, see what makes sense to edit and what you need to keep. In the end, I bet you have a more concise text that is tightend up and clean.

To get an idea of how your manuscript is coming along, click on our Children’s Book Length Guideline and make sure your word count is on track for your age group and category.

Write Your Story…

Writing Help FREE Templates

Even if you don’t aspire to be a best selling author, there is no reason why you shouldn’t have your story published.

Have you ever wondered how to write a children’s book, and if you have what it takes to create one? Maybe you have an incredible idea that you can’t stop thinking about. Or maybe you want to put to paper your little one’s favorite bedtime story–the one you made up while snuggling together. Whatever the reason, now is the time to check this dream off your bucket list.

Writing and publishing your own children’s book is no longer difficult to do, nor is it financially unattainable. You could actually have your book printed for FREE, yes, free…ZERO money. (but spoiler, this will mean A LOT of work for you.) You could end up spending half a fortune just figuring out how to go about all the steps involved. My hope is, if you found your way here, you can learn from my mistakes and it will save you lots of headaches.

If your ultimate goal is to get published the traditional way, presenting a well-performing, professional book and an established author platform, will ultimately increase your chances of landing a publisher! Truth be told, this was my initial plan, but now that I know how easy it can be, I would not be scared to self publish all my upcoming projects!

There are several steps to set publishing, and many things to consider when you are first getting started. Just remember, children value creativity and individuality. There is no one way to draw. No one way to paint. No one way to write. It’s about being uniquely you, lending your unique voice to your unique story. I hope you are inspired to write your own children’s book!